
OBRA CONCLUÍDA: a MINI CASA está PRONTA!
Our house is almost ready, but let's agree that we can't live in it without a roof. Today, we are going to solve this problem. In a real job, as soon as you build the walls, you already have to put on the roof. This is very important because it stops rain from getting inside the house and you can do a lot of things. In our case it was not like that. First, we already have the roof of the atelier Up here and it won't rain inside the little house. We can work on it just fine, But the main problem is that if we put a roof over here, we wouldn't be able to do anything else. How would we lay tiles and install pipes if there was a roof up here? So, we need To keep working like this. Today, we need to install a series of things, let's leave The roof for last so it doesn't get in the way. As a reminder, Amigo Construtor Has been our support on this project since the beginning. It is an online building Materials store where you can find practically everything we are using here. I mean, in real sizes for real houses. All the parts that we are going to install today were designed by us and then laser cut. I designed the first window and it was really cool because later Daniel, who works With us, saw me designing it and he didn't even know how to use Fusion, which is The software we're using, but he went there and made all the other windows. Each in a different format and all the doors as well. In the end, the whole computer project was a three-person job, with me, Daniel and Pena on the roof. Each window is simply 20 pieces. The first thing I install are the two fixed window panes, the ones that won't move and are covered. Then we add all the rails. In our case, these are six rails, or rather 6 rail edges. They are super well fitted, Which is really cool because there is little glue, the thing sort of assembles itself. Soon after, I can already install a side and the top part of the window. I'll confess To you that white glue works much better than super glue in these cases, but it's Slow. If I wasn't in a hurry, I would just use white glue. Now it's time to place The moving panes. There are two glass ones on the inside, here we are using acrylic Which is just as demonstration, and two shutters on the outside. Then, yes, I can Cover the side of the window and install two handles on the front. The last step Will be to place the trim, the front frame. Look how beautiful it is. If it's too hot, the person leaves the window open. If it's too windy, we'll just close the glass part here and at night, when it's cold And you don't want light to come in, you close the outside part.
But these six windows are just one of the models we made. The little house is big. It has a window, tilting to the bathroom, a small closed window to the living room, The main door, which is a balcony door with three parts, the ordinary door for the Bedrooms and bathrooms, the laundry door that has an air passage down here and, so That they have a huge opening in the stairs, we created a huge two-story window here. One of the big secrets in all of this is the trim. It is the part that will hide the imperfections of the masonry. So, you see this Hole here from the window, it's all kind of irregular, kind of ugly, sloppy… The Moment you put the window in, look at the magic. And it is logical that this problem we also solve with a trim on the inside. But It wasn't us who invented this, no, okay? Most likely, if you go into your bathroom Right now and take a look at the door from the outside, you'll see some trim as well. To fix the windows, we will use hot glue. In real life, you can use putty, but, in general, what has been used is an expanding Polyurethane foam, which we even did in the Manual do Mundo something similar to that chemical cupcake. Some of these windows we will not fix. It will only be fitted, because later we may need to do maintenance, so it's easier To enter. The doors are also all functional, they open by turning the pane to the Inside. Near the stairs there is a guardrail, which is this wall that prevents people From falling. As it is unfinished, we came up with an MDF covering here as well. If you look at most of the roofs in Brazil, you will see two types of tiles, ceramic Tiles and fiber cement tiles. The fiber cement one is just wavy, it's much bigger, I'm holding a piece of it, okay? But just to give you an idea, this one here, if It were whole, it would be 54 square foot. So, one advantage of this tile right Off the bat is that it's very big, that makes it easier to install, you need little Wood underneath it. It's also a light tile and it's a cheap tile, but nothing is Perfect in this life. One of the major problems of this tile is thermal insulation. It keeps the house warm in the summer and cold in the winter. It also has a little Problem with acoustic insulation, if it rains very heavily, you can hear it well And it is not a super resistant tile, if a very heavy fruit falls on top of the house, It can break. When I was a child, we called this type of tile asbestos tile, but This is a type of material that is harmful to health and it has already been banned. So, nowadays, these tiles are made of fiber cement, which is a different material That is not harmful to health. Ceramic tiles, just by looking at them, you can already
Imagine what their advantages are, right? It has much better thermal and acoustic Insulation than fiber cement and I think it looks better on top of the roof too. It's a very resistant tile, it's tough as nails, but it has its disadvantages too. It is quite heavy and the ceramic absorbs water, so when it rains it gets even heavier. And then it breaks a little easier too. And with a tiny, heavy tile, you can imagine The wood that goes under it, right? The structure you need to place the tile on Top is quite complex and apart from that, generally, you need two different types Of tiles, the cover and the channel, a tile that goes underneath and another tile That goes on top. Everything has to be in place for it to work. If you remove one, You will already have a leak problem. There is a type of tile that is appearing More and more, which I don't have here, which are PVC tiles. Visually, they are More similar to this one here, but they are much bigger, they have some things in Common with the ones made of fiber cement. It's a plastic tile, it won't have such Good thermal and acoustic insulation, but it's super light and very resistant. It's Very practical. By the way, these images that you are seeing now are from the Amigo Construtor website, where you can buy this type of tile. In our case, what we chose Is a ceramic tile, but not exactly the one I showed. That one is of the flat type, we chose the French tile, which is a flatter ceramic In which all the tiles are the same, there are not two different models for me to Fit into each other. One advantage of it is that we think it will look much prettier. And another advantage is that it looks a little easier to do as well. Of course, We are not going to make miniature ceramic screens. We decided to make it in laser-cut MDF, because then we get a really nice design, check it out! We are going to make Several tiles at once, so, first, a base, you can see that we are using a guide here To make it easier for everything to fit properly. Then there is a high-relief part, The tile is now in 3D, it already has the beautiful design of the French tile. All This is glued on top of another layer that serves to fit the tile layer that goes underneath, a kind of structure. And then, we still have a little MDF strip that serves to attach these tiles to the roof slats. In the end, you will see that these tile sets fit one on top of the other vertically, but also fit laterally. At the end of the day, the idea is that you don't see any notches. You can see this look of raw MDF here, kind of brown, but the tile has a different Color, you know. Don't worry, we'll sort it out in the end. Another thing we have To solve now is the woodwork, the wooden frame that goes under the roof. Depending On the type of tile, this changes completely. For example, each tile requires a
Different angle of the woodwork, there are tiles that need a very sharp angle, others can be a little more open. Other than that, this woodwork has to be prepared to fit the tiles. So, first you think about the type of tile and then how you are going to make the wooden structure. This here is a cross, it's a basic structure that goes under the roof to support a lot of weight. One very interesting thing about it is that the wood is all very well fitted, one Piece is not screwed on top of the other. One goes into the other, so a kind of hole has to be made, a fitting here in each part. It's a carpentry service. The moment we add weight here, there is a clever distribution of forces. When you add weight, the first tendency of the roof would be to open, it would do this… This will not happen because the gables, which are these bits of wood here, are locked At the ends in this lower piece of wood, which is called a line. So it will never be able to open it. But another thing that could happen, then, is that it bulges, forming a kind of C here in reverse, right? A belly. And that won't happen either because there are these two locked pieces, the diagonal Ones, which are locked in the middle piece of wood, the hanging part. So, the hanging part ends up being stretched because it's being pressed up here and down here. It's a piece of wood that keeps stretching and, the most interesting thing of all, It gives the impression that it's a big weight here in the middle, but it's not. On some roofs, the hanging part, which is this wood, is not even connected to the Line, the two do not need to touch because the force being applied does not need this wood to be forced from below. But we can't fit any tiles yet. In this drawing I made, several of these bits of woods are in profile, ok? So, they sell them full so that we saw their cut. Right on top of the cross, we will have these beams here, which are the purlins, they Are very resistant woods and there are few. Right at the top, we have the rafters, which are made of slightly lighter wood and go down from the top to the bottom. And then we have another layer of wood, which are the slats, the thinnest wood of The roof, which is where we will fit the tiles. Look how beautiful a tile has to fit perfectly on top of the other. And that's why it's very important that the spacing between the slats is perfect, fitting exactly on the tile. On a real roof, the carpenter will use a guide called a gauge to know the exact distance, in our case we used the caliper. Up here, on the top, there's a special roof tile called a ridge, there's also a groove
Between the ridges, and the cool thing is that when it rains, the rain goes down From one tile to another without ever coming back. As the tendency of the water Is always to go down, then, it falls here, goes down to the next tile, goes down To the next tile, goes down to the next, next, next… until it leaves the roof. And if you make this roof less steep than the tile requires, a flatter roof, what Will happen is that water will start to enter between one tile and another and, then, You will have a leak. Or if you let plants grow on top of your roof like we did Here in Manual do Mundo, a similar problem can also happen. And another finish that We need to do here on the ceiling is the lining. You can see that it's very rough, we can see the cement on top, this on the bottom. And on the top, we don't even have anything to separate the roof. The lining is very important mainly for this, to isolate the roof from the rest of The house. And then, you have more thermal comfort. For example, when it's too Cold or too hot outside, you won't feel it as much inside the house. There are a Lot of people who don't use lining. Do it directly on the slab. Here at Manual Do Mundo, for example, we don't have a lining anywhere. Practically everything is Cement on top. It has an advantage, that this is simpler, easier to do, the disadvantage Is that if you need to run anything electrical or some kind of pipe over the top, You'll have to split open the slab to do that and it's quite difficult and tedious To do. If you have a plaster or wood lining, you can open a small hole through the Lining, pass what you want to pass through and then cover it up, everything is fine. In our case, we're going to use our friend MDF once again, you're going to pretend It's a plaster lining. I'll tell you that this is a part that seemed easy, but it Took a lot of work to do because these boards need to fit perfectly to the ceiling. We're finishing the house here, so there can't be anything that doesn't fit right. But the masonry, the cement part of our house, is not very regular. We have to paint all the MDF boards white to look like real plaster, on the underside, In some spots, we just glue that to the ceiling. On the top, it's a little more complicated, we made a base and, on top, we put the Lining in different parts, just fitting. This is going to be very important here for us to have access to the inside of the House, because if it was a single slab, how would we turn on the switches, place Some furniture, play a little with our little house? It's nice for us to remember that this is the last video of the house.
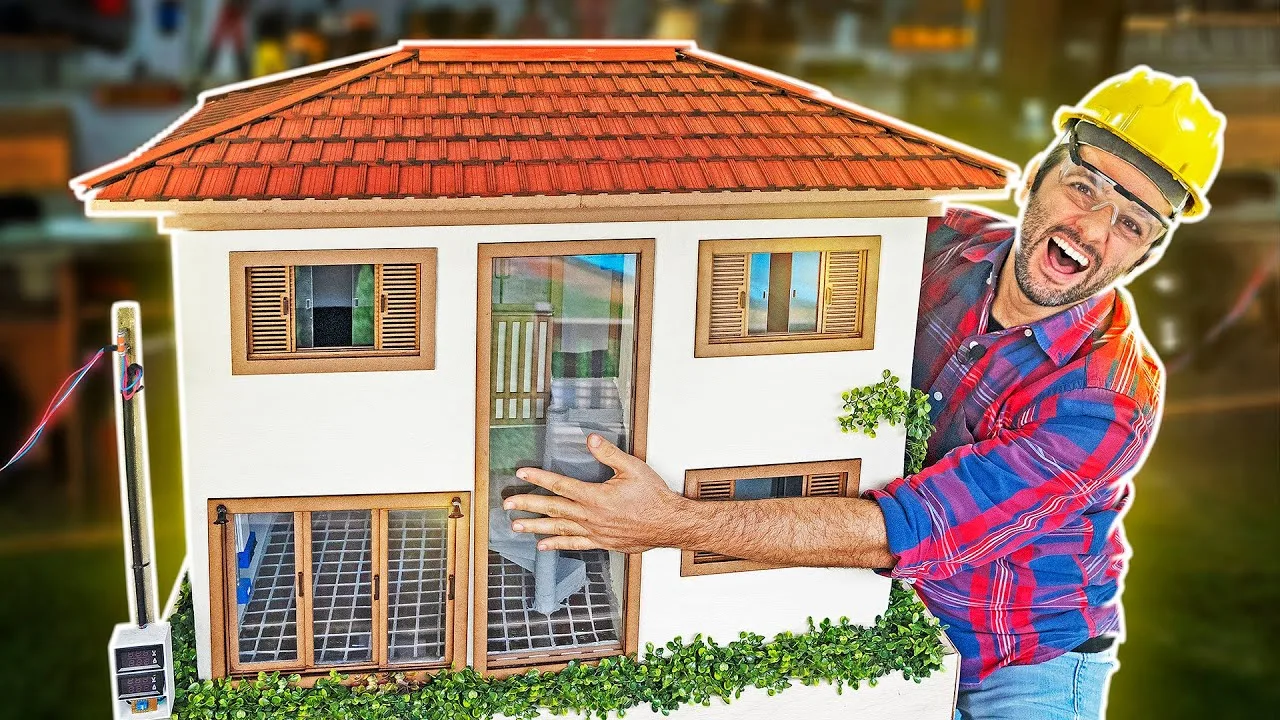
So, it has to be 100% ready for us to be able to deliver it to our client. I mean, There is no client, but it has to be ready. And I have to install the dishes that we removed to finish, like the sink and the toilet. Let's agree that for the house to have life, it needs a little bit of green. So, we are going to plant this out here. I also wanted to simulate a vine climbing the wall, this makes this wall, which is too plain, more alive. To disguise some masonry flaws, we also did this finish on the stairs, another one in the laundry room. And around the base of the house, we put a clean, sanded plywood. Finally, there's still a finishing touch to put up here to hide the roof structure. But think of a tile that is taking a lot more work than we imagined… even if there Are several together, look, we will have to paint everything red, it has to be a Semi-transparent paint for us to be able to see the drawings that are behind and, In addition, you need to make a cut at about 45 degrees, which is what will guarantee The fitting of the tiles on top of the roof in the corner. If we make a mistake Here, it won't fit right, there will be a hole on top of the roof. The roof is ready and now we can understand some things here. Each surface of this, we call a panel. So this one here is a hipped roof. If you Look at these very fancy houses, you will see that there are houses of 20 different Waters. Down here there is another finish that is a wood, it is called a facade. It goes in front of the rafters, it has an aesthetic function to hide the rafters, But it also serves as a support. If you are going to install a gutter or if you Are going to put a lining down here, it serves as a finish. Let's install the lamps with inlets, look how beautiful they are. After a lot of work, practically a real job, the only thing missing from this little house was to put on the roof. Look, I would like to thank Amigo Construtor who has been with us since the first Concrete block we placed here at the end of 2021. Yeah, we've been building this house for over a year and a half. If you have anything to renovate, to build, don't forget to take a look at Amigo Construtor's online store. I'm sure at this time they must be very proud of what we've done. This here is our mini house and if it's not worth a thumbs up, I don't know what is. If you missed the previous episodes, I'm leaving the mini house playlist here. You can learn a lot about construction and follow this saga, which took almost as much work as a submarine.